
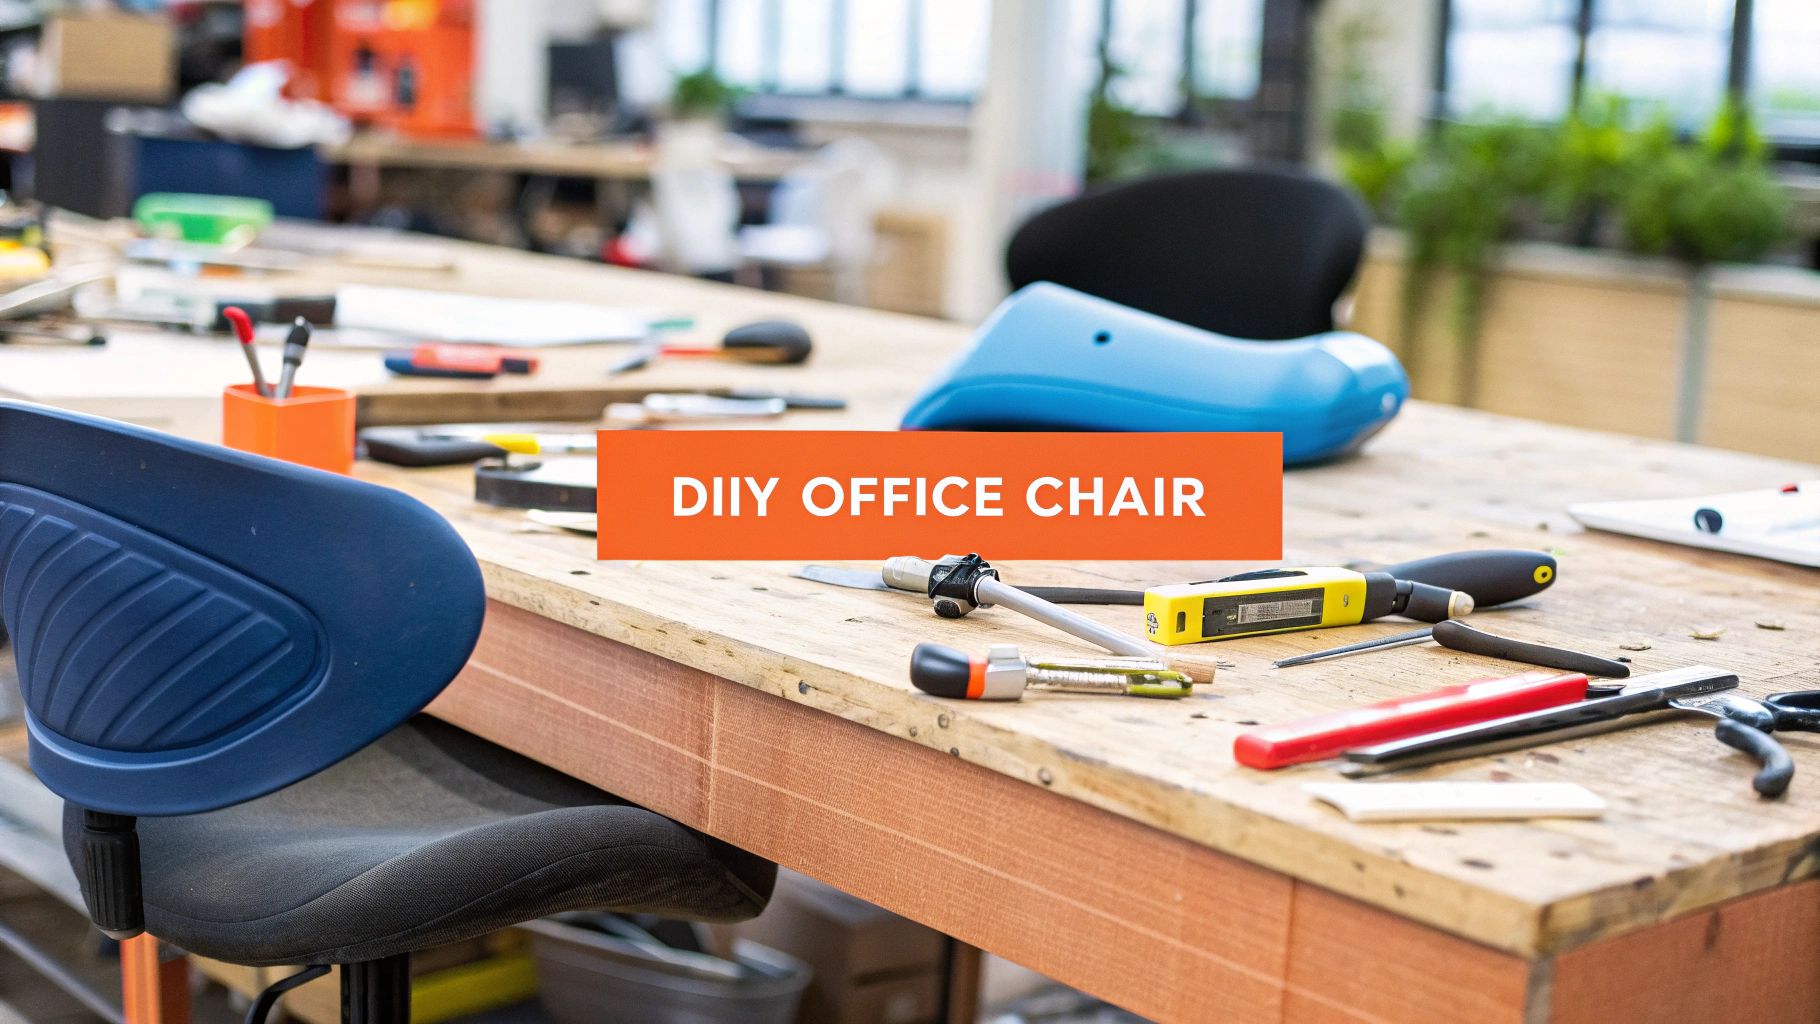
Building your own office chair isn't just a weekend project; it's a direct investment in your long-term comfort, focus, and even your personal style. Taking the DIY route gives you something you can't get off the shelf: complete control over every ergonomic detail and material choice. You get to build a chair that fits your body and your space perfectly.
So, Why Build a Chair When You Can Just Buy One?
I get it, the thought of building your own office chair from scratch might sound a bit intense. But the benefits go way beyond just potentially saving a few dollars. The real prize is achieving a truly personalised ergonomic setup—something that even a lot of high-end, pre-built chairs struggle to deliver. You get to hand-pick every component to match your body's unique measurements, from the seat depth right down to the specific height and curve of your lumbar support.
Finally, a Chair with Perfect Ergonomics
The problem with most office chairs is they're designed for an "average" person who doesn't actually exist. We all have different heights, weights, and body shapes. A DIY build lets you sidestep this one-size-fits-all problem and focus on your specific needs.
- Custom Seat Depth: This is a big one. You can ensure your thighs are fully supported without the seat edge digging into the back of your knees and cutting off circulation.
- Targeted Lumbar Support: Forget generic cushions. You can place the support precisely where it meets the natural curve of your lower back, which is crucial for preventing aches and pains after a long day.
- Ideal Armrest Height: You can align the armrests perfectly with your shoulders and elbows, taking a huge amount of strain off your neck and shoulders.
This kind of fine-tuning turns your chair from a simple piece of furniture into a genuine tool for better health and productivity. If you want to dive deeper into what makes a chair truly ergonomic, our office chair buying guide is a great place to start.
There's a real satisfaction that comes from building something with your own two hands. A custom chair isn't just functional; it's a statement about your dedication to quality and a reflection of your own taste.
You Control the Quality and the Look
Another fantastic reason to build your own is the complete say you have over the materials. You can opt for high-density foam that won’t flatten in six months, choose a breathable mesh back for those warm Aussie days, and pick a heavy-duty base and castors that are right for your floor type, whether it’s carpet or hardwood.
This isn’t just about making it look good; it’s about building a chair that’s made to last, steering clear of the cheap components and planned obsolescence you find in so many mass-market models.
There’s a growing demand for quality, ergonomic seating across Australia and the world. The global office chair market was valued at around USD 14.69 billion and is only expected to grow. This boom is fueled by a greater understanding of workplace wellness and the need for furniture that actually supports people's health and productivity—a principle you can now apply directly to your own home office build.
Sourcing Your Tools and Chair Components
Alright, this is where your custom chair starts to become a reality. Getting your hands on the right parts and tools before you start is crucial. Trust me, nothing kills the momentum of a project like realising you’re missing a key component halfway through assembly.
Think of it like prepping your ingredients before cooking a meal. A little organisation now saves you a massive headache later and ensures everything fits together just right.
Your first port of call should be tracking down the core ergonomic parts. These are the workhorses of your chair—the bits that provide the stability and adjustment that make all the difference to your posture and comfort. You can often find them at specialised online suppliers who cater to office furniture repair or fellow DIY builders.
Finding Your Essential Ergonomic Parts
When you're building a modern ergonomic chair from the ground up, there are three parts you simply can't skimp on: the base, the gas lift, and the control mechanism. Together, they form the functional chassis of your entire build.
Here's what to look for:
- Five-Star Base: This is the foundation of your chair, so stability is key. Look for a base made from reinforced nylon or, for a more premium feel and extra strength, polished aluminium.
- Casters (Wheels): This choice comes down to your flooring. If you have carpet, standard hard casters will do the job. For hardwood, tile, or vinyl, you'll want soft, rubber-like casters to prevent scratches and roll smoothly.
- Gas Lift Cylinder: This little piston controls your chair's height. Don't settle for anything less than a Class 3 or Class 4 cylinder. These are built to much higher safety and durability standards, which is exactly what you want for a chair you'll be using daily.
- Chair Control Mechanism: This is the metal plate that bolts directly under the seat. It’s the brains of the operation, housing all the levers for height, tilt, and recline. Make sure you pick one that offers all the adjustments you need.
If there's one piece of advice I can give, it's this: sourcing high-quality components is the single most important step when you build your own office chair. Investing in a robust gas lift and a sturdy base isn't just about longevity—it's a non-negotiable for safety.
To make things a bit clearer, here's a quick checklist of the core components and what they do.
Essential DIY Office Chair Component Checklist
This checklist covers the absolute essentials. Once you have these sorted, you can move on to the more personal touches.
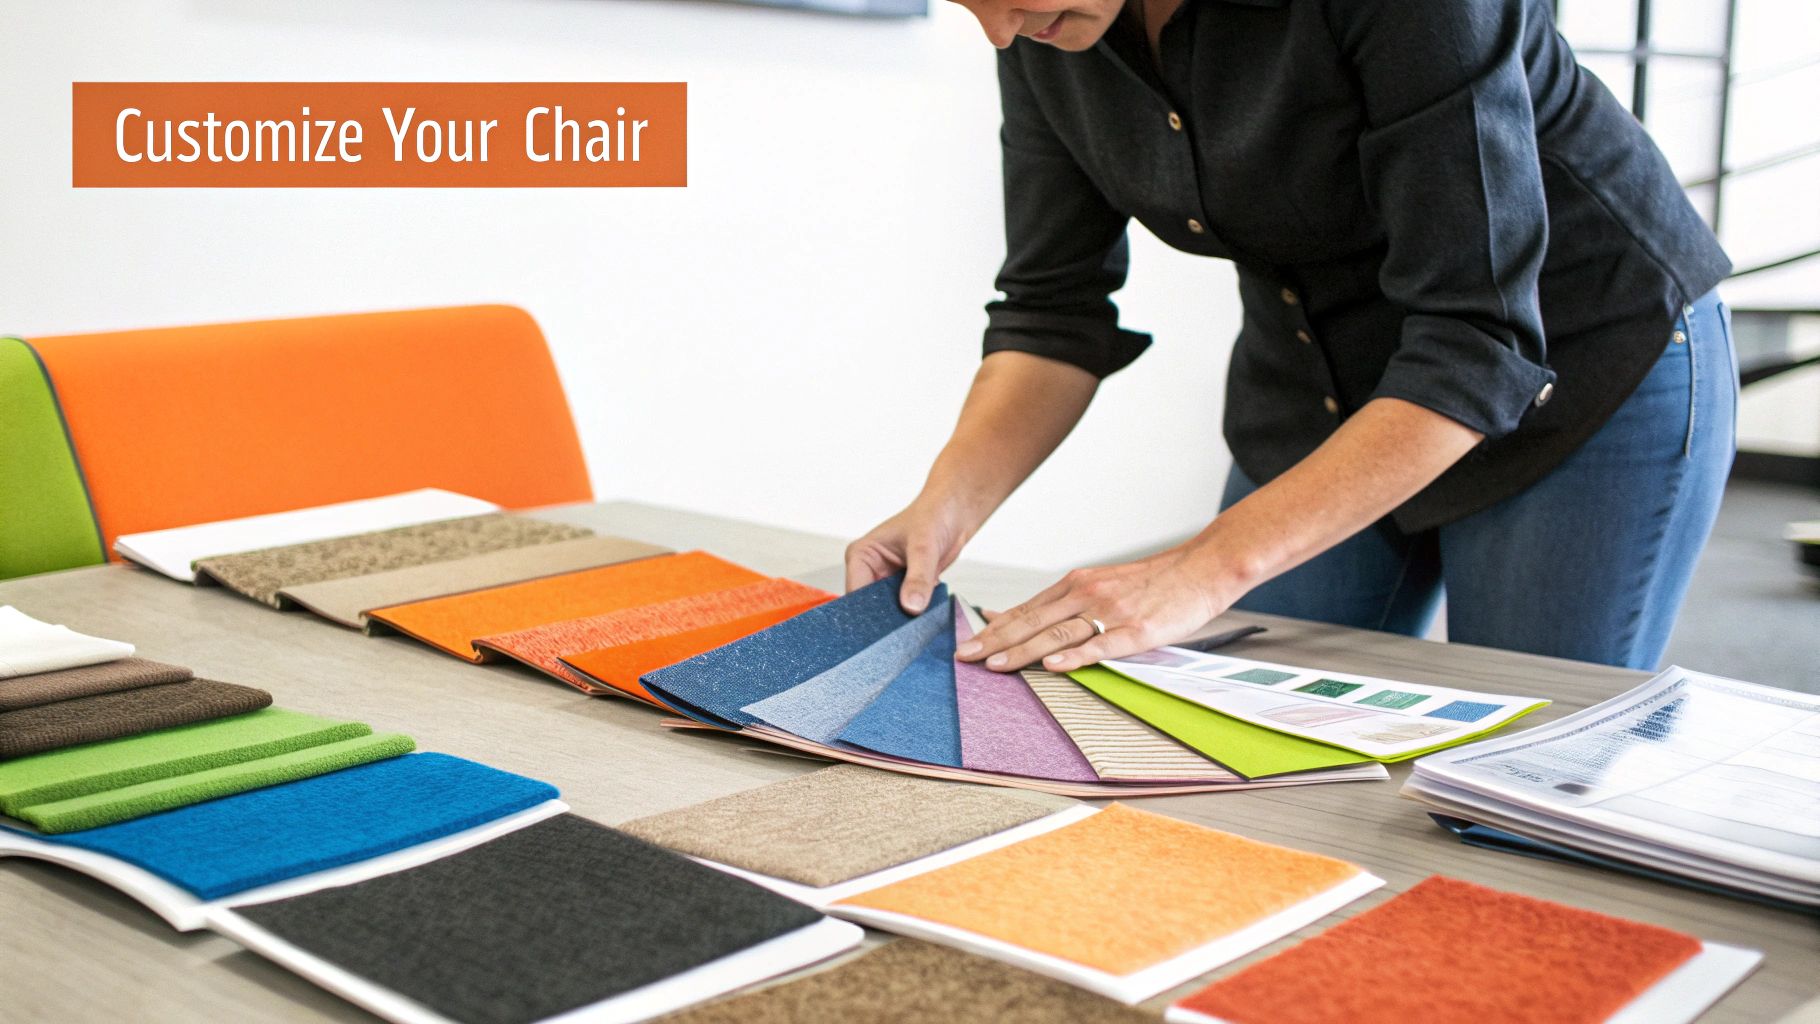
Choosing Your Seat and Back Materials
Next up are the parts that directly affect how the chair feels—the seat and backrest. This is your chance to really personalise the build.
Are you someone who runs hot and would benefit from a breathable mesh back? Or do you prefer the firm, body-hugging support you get from high-density moulded foam?
For the seat pan, you’ve got options. You can buy a pre-moulded and upholstered seat for convenience, or you can build one yourself with plywood, foam, and your own fabric. Going the full DIY route gives you complete control over the cushioning, shape, and final look. If you're weighing up different materials, our guide on how to choose the right office chair has some fantastic insights that might help you decide.
Your Essential Toolkit
You don’t need a full-blown workshop for this project, but having these few tools on hand will make the assembly process a whole lot smoother. You can find everything you need at a local hardware store.
- A socket wrench set is perfect for tightening the main bolts on the mechanism and armrests.
- A rubber mallet is a must-have for tapping the casters and gas lift securely into the base without cracking the plastic.
- A screwdriver set (or a multi-bit driver) will take care of any smaller screws, especially for things like armrest pads.
Once you’ve gathered your components and laid out your tools, you're officially ready to move from planning to building. Let's start putting this chair together.
Assembling the Chair's Foundation
Alright, you've got your parts laid out and your tools at the ready. Now for the fun bit – actually putting it all together and watching your custom chair take shape. We'll start from the ground up by building the foundation. This means getting the casters onto the base and then slotting in the gas lift.
Think of it this way: a sturdy, well-built base is the key to a chair that feels stable and reliable for years to come. It’s worth taking your time here.
Your first move is to attach the casters (the wheels) to the five-star base. I'd recommend flipping the base upside down on a soft surface, like a rug or even just the cardboard box the parts came in. This will save your floor and the base itself from any accidental scratches. You’ll see a hole on each leg of the base; just push the metal stem of a caster firmly into each one.
Some casters will pop right in with a bit of a push, but don't be surprised if some are a little stubborn. If you meet some resistance, resist the urge to grab a metal hammer! That's a quick way to damage the caster or crack the base. Your best friend for this job is a rubber mallet. A few firm but controlled taps on the caster will usually do the trick, seating the stem securely in its socket. You’ll know it’s in properly when you feel a solid "thunk".
Getting the Gas Lift Just Right
With all five casters locked in, flip the base over so it's standing proudly on its new wheels. Next up is the gas lift cylinder. Find the hole right in the centre of the base and slide the cylinder in.
This part seems simple, but getting it right is crucial. The cylinder needs to sit perfectly straight and vertical. If it goes in on an angle, your chair will feel wobbly and unstable. Over time, this can cause uneven wear and even compromise the chair's safety.
This image gives you a great bird's-eye view of the entire assembly process, from the foundation we're building now to the final touches.
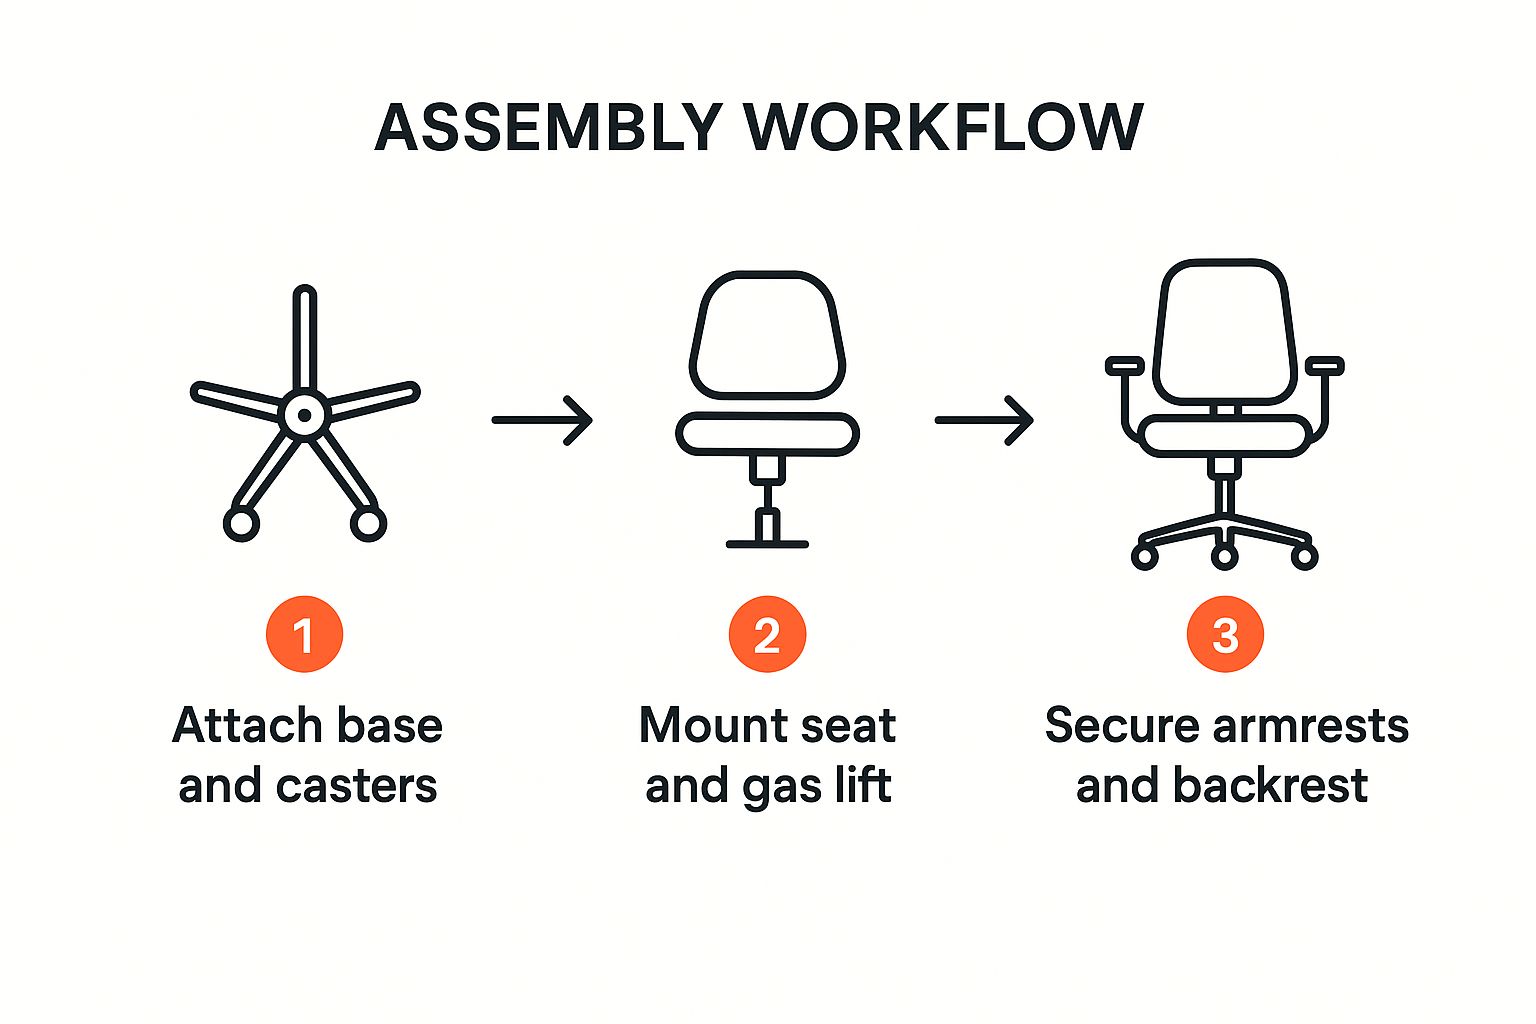
As you can see, building your own office chair is a logical process. It all starts with a solid base before you move on to the seat and backrest.
A Quick Tip From Experience: Don't be tempted to use any lubricants like WD-40 or grease on the gas lift or base. These parts are designed for a tight, friction-based fit. Adding oil can actually cause the cylinder to slip or prevent it from locking into place securely down the track.
If you’re more of a visual learner, you might find our guide on how to assemble an office chair helpful. It includes videos and extra tips for different chair models.
Now that the foundation is built, we can move on to attaching the seat and bringing all those ergonomic components together.
Connecting the Seat and Mechanism
Alright, your rolling base is ready to go. Now for the fun part: connecting the core components. This is where your chair really starts to take shape and where the ergonomic features come into play. We’ll be linking the seat, back, and armrests via the control mechanism. A bit of precision here goes a long way towards a stable, wobble-free chair.
First up, grab your upholstered seat pan and place it upside down on a clean, soft surface – a rug or even the shipping box works great to prevent scratches. Take the control mechanism and line it up with the pre-drilled pilot holes on the bottom of the seat. As a rule of thumb, the adjustment levers should face the right-hand side, and the tension knob should point towards the front of the chair.
Securing the Mechanism for Stability
Here’s a pro tip for attaching the mechanism. Don't just tighten the bolts one after another in a circle. Doing that can create uneven pressure, which often leads to a slight rock or creak down the line. What you want to do is use a star pattern, just like you would when tightening the lug nuts on a car wheel.
Start by hand-threading all four bolts to make sure they're aligned correctly without cross-threading. Then, grab your socket wrench and give the first bolt a partial turn. Next, move to the bolt diagonally opposite and give it a similar turn. Do the same for the other two bolts, and keep repeating this diagonal pattern until all four are snug and secure. This technique distributes the pressure evenly for a rock-solid connection.
This might seem like a small detail, but an evenly torqued mechanism is a hallmark of a high-quality build. It’s one of those professional touches that prevents frustrating creaks and wobbles from developing after a few months of use.
Attaching the Armrests
With the control mechanism firmly in place, it’s time for the armrests. This is a crucial step when you build your own office chair. If your armrests are off-kilter, it can lead to some serious shoulder and neck strain. The goal is simple: get them perfectly level to provide comfortable support.
Most armrests attach to the underside of the seat with two or three bolts. Loosely attach them first. Then, use a spirit level to check they are perfectly horizontal before tightening the bolts down completely.
You’ll find a few different types of adjustable armrests out there, and each offers a different level of customisation:
- 1D Armrests: These move up and down. This is the most basic and essential adjustment for matching your desk height.
- 2D Armrests: On top of height adjustment, these also move forward and backward. This lets you pull the armrest in closer for support when typing.
- 4D Armrests: The ultimate in adjustability. They move in four directions: up/down, forward/backward, in/out (width), and they can pivot. This level of control is fantastic for getting the fit just right for your body.
Your choice really comes down to your budget and how much you like to fine-tune your setup. In my experience, 2D or 4D armrests provide the best bang for your buck ergonomically.
Once the armrests are on, the last piece of this puzzle is the backrest. It usually slides into a dedicated bracket at the back of the control mechanism and is secured with its own set of bolts. Make sure it's attached securely before you move on.
Right, this is the home stretch. You’ve got all your pieces, and now it's time for the most rewarding part: putting it all together to create your very own chair. This final step is surprisingly simple but so important.
First up, you need to connect the top half of the chair to the base you've already assembled. Gently lift the entire seat structure—that’s the seat pan, mechanism, backrest, and armrests all together—and carefully line it up over the gas lift cylinder.
Slowly lower the seat, guiding the hole in the mechanism onto the top of the cylinder. It should slide on without much fuss. To lock it in place, just take a seat. Your own weight will create a solid, pressure-fit connection that keeps everything secure. Easy as that.
But don't get too comfortable just yet. The assembly might be done, but the real work of making this your chair is just beginning. This is where you fine-tune everything to fit your body perfectly. Honestly, this is the whole reason you went to the trouble of building your own chair in the first place.
Dialling in Your Perfect Fit
This is where your effort really pays off. Take your time with these adjustments, because getting them right is the key to all-day comfort and support.
Start with your seat height. The goal here is simple: feet flat on the floor, with your knees bent at a comfortable 90-degree angle. This is the foundation of good posture. Of course, your chair is only half the equation. It needs to work with your desk, so have a look at our guide on setting the correct ergonomic desk height to get the full picture.
Next, let's get that backrest sorted. Find the tension control, which is usually a large knob under your seat. Adjust it so the backrest supports you firmly but still lets you recline when you want to. You shouldn't have to fight it to lean back, but it also shouldn't feel like it's going to fly backwards with no resistance.
The real magic of a DIY chair is tailoring it to your unique spinal curve and posture. This isn’t a one-size-fits-all solution; it’s a bespoke piece of equipment for your body.
Now, for the lumbar support. If you chose a backrest with an adjustable lumbar feature, move it up or down until it nestles perfectly into the curve of your lower back. You’re aiming for a feeling of gentle support, not a hard shove. This little adjustment makes a massive difference in preventing that all-too-common lower back ache.
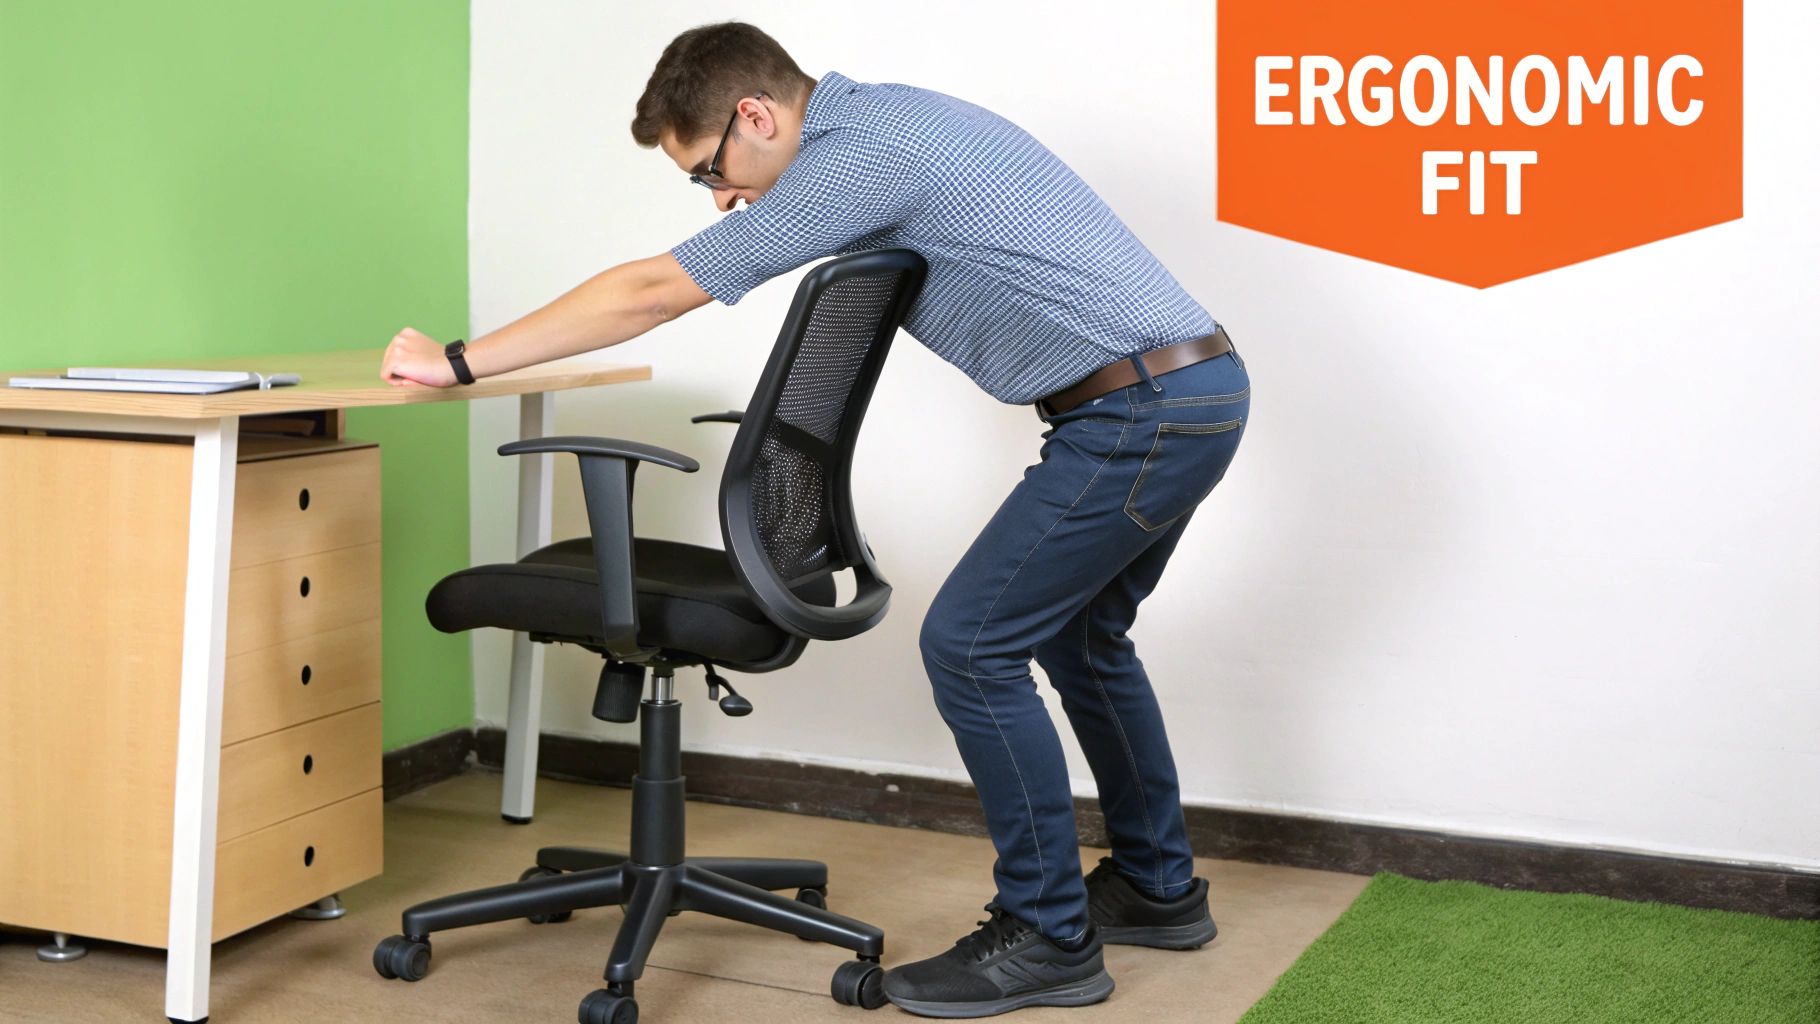
Finally, the armrests. Position them so your elbows can rest at about a 90-degree angle while your shoulders are relaxed and down. This simple tweak takes so much strain off your neck and shoulders.
It's no surprise that demand for this kind of personalised gear is on the rise. The Australian office furniture market was valued at around USD 1.17 billion in 2025 and is set to keep growing. This shows a real shift towards flexible, ergonomic furniture that actually works for people. You can read more about Australia's office furniture market trends on coherentmi.com. By building and tuning your own chair, you're not just getting a better seat—you're getting ahead of the curve.
Answering Your Top Questions About Building a Chair
Taking on a DIY office chair project is exciting, but it’s natural to have a few questions swirling around. Most people wonder about the cost, how hard it really is, and which parts are actually worth spending money on. Let's walk through the common queries I hear all the time.
So, first up: can you actually save money doing this? While you might find that sourcing top-tier components costs more than a cheap, off-the-shelf chair, that's not where the real value lies. You're building a chair with premium parts and a truly bespoke ergonomic fit, which often comes in at a fraction of the cost of a comparable high-end, pre-assembled model.
The true ROI isn't just about dollars and cents. It's about creating a chair that's perfectly dialled into your body. That kind of personalisation is something you can't always buy, and it pays you back every single day in comfort and health.
Is This a Project I Can Actually Handle?
Absolutely. You don’t need to be a seasoned tradesperson or have a workshop full of tools. If you’re comfortable with a socket wrench and know your way around a rubber mallet, you've got this.
The real skill here is patience. It's less about complex woodworking and more like putting together a premium, adult-sized Lego kit. The parts are designed to go together; your job is to follow the process, align everything properly, and make sure it's all snug and secure.
What are the Common Pitfalls to Avoid?
It's easy to make a few little mistakes along the way. From my experience, a few slip-ups are more common than others, so keep these in mind to sidestep any frustration.
- Unevenly Tightening Bolts: When you're attaching the chair mechanism, always tighten the bolts in a star or cross pattern. This simple trick spreads the pressure evenly, preventing those annoying wobbles and creaks down the line.
- Using Too Much Force: Reaching for a metal hammer to get casters or the base in place is a surefire way to crack the plastic. A rubber mallet gives you all the persuasion you need without causing any damage.
- Skipping the Final Tune-Up: Putting the chair together is only half the battle. The real magic happens during the final ergonomic adjustments. Don't skip this! Spend some time setting the height, backrest tension, and armrests to perfectly fit your frame.
Proper adjustments are what make or break your sitting experience. For a deep dive on this, check out our guide on achieving the ideal office chair posture.
Where Do I Get the Most Bang for My Buck?
If you're trying to stick to a budget, focus your spending on the parts that deliver the biggest ergonomic punch.
A Class 4 gas lift is non-negotiable—it's the industry standard for safety and long-term durability. After that, putting your money into 2D or 4D adjustable armrests will make a massive difference in preventing shoulder and neck pain.
Finally, always prioritise quality materials. Building with sustainable components gives you a chair that not only lasts longer but also feels good to own. The Australian office furniture market, currently valued at around USD 1.8 billion, is seeing a big push for eco-friendly options. It’s a response to a serious problem—Australia generates nearly 8.5 million tonnes of furniture waste each year. You can read more about sustainable trends in the local office furniture market on imarcgroup.com.
Ready to build an office chair that’s genuinely yours? With Pago International, you can choose from AFRDI-approved components and countless customisation options to create a chair that nails style, comfort, and is backed by a 15-year warranty.
Explore our ergonomic solutions at https://www.pagointernational.com.au.